Tutorial: Designing your first circuit with CSchem
In this tutorial, you will draw a circuit like the example shown on the front page of the CSchem documentation. If you have not yet installed the software, please follow the steps outlined under Tutorial: Installing CSchem and CPCB on your computer.
First step: Starting CSchem
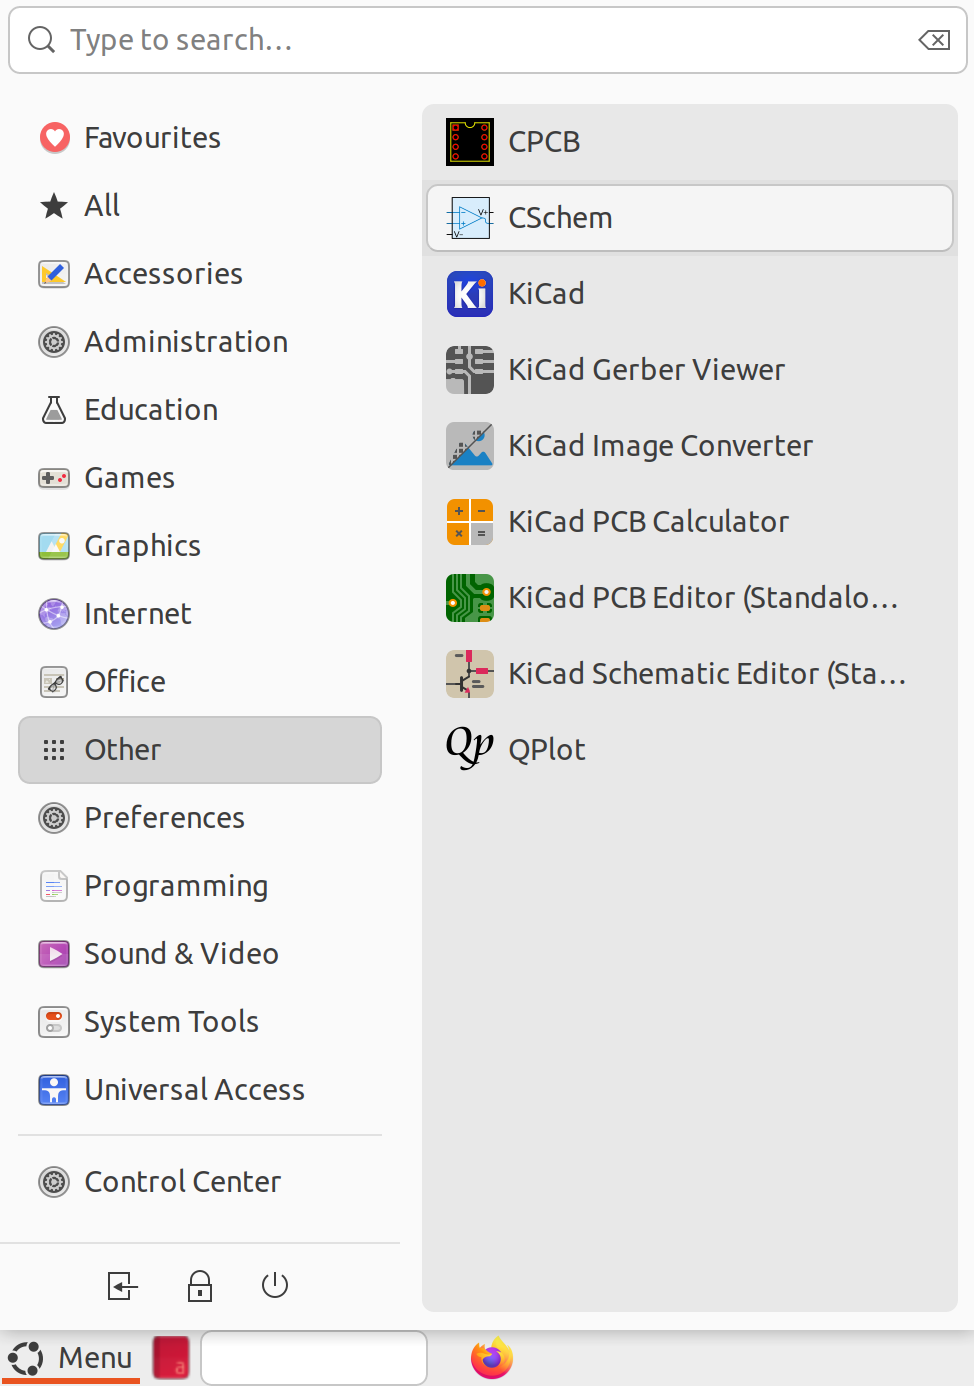
If you have used the CSchem installation package on Windows, or the :file:.deb package on Linux, you should be able to find CSchem in your computer’s start menu. On my computer, that looks like this:
Alternatively, you can start CSchem by typing
cschem
into a terminal.
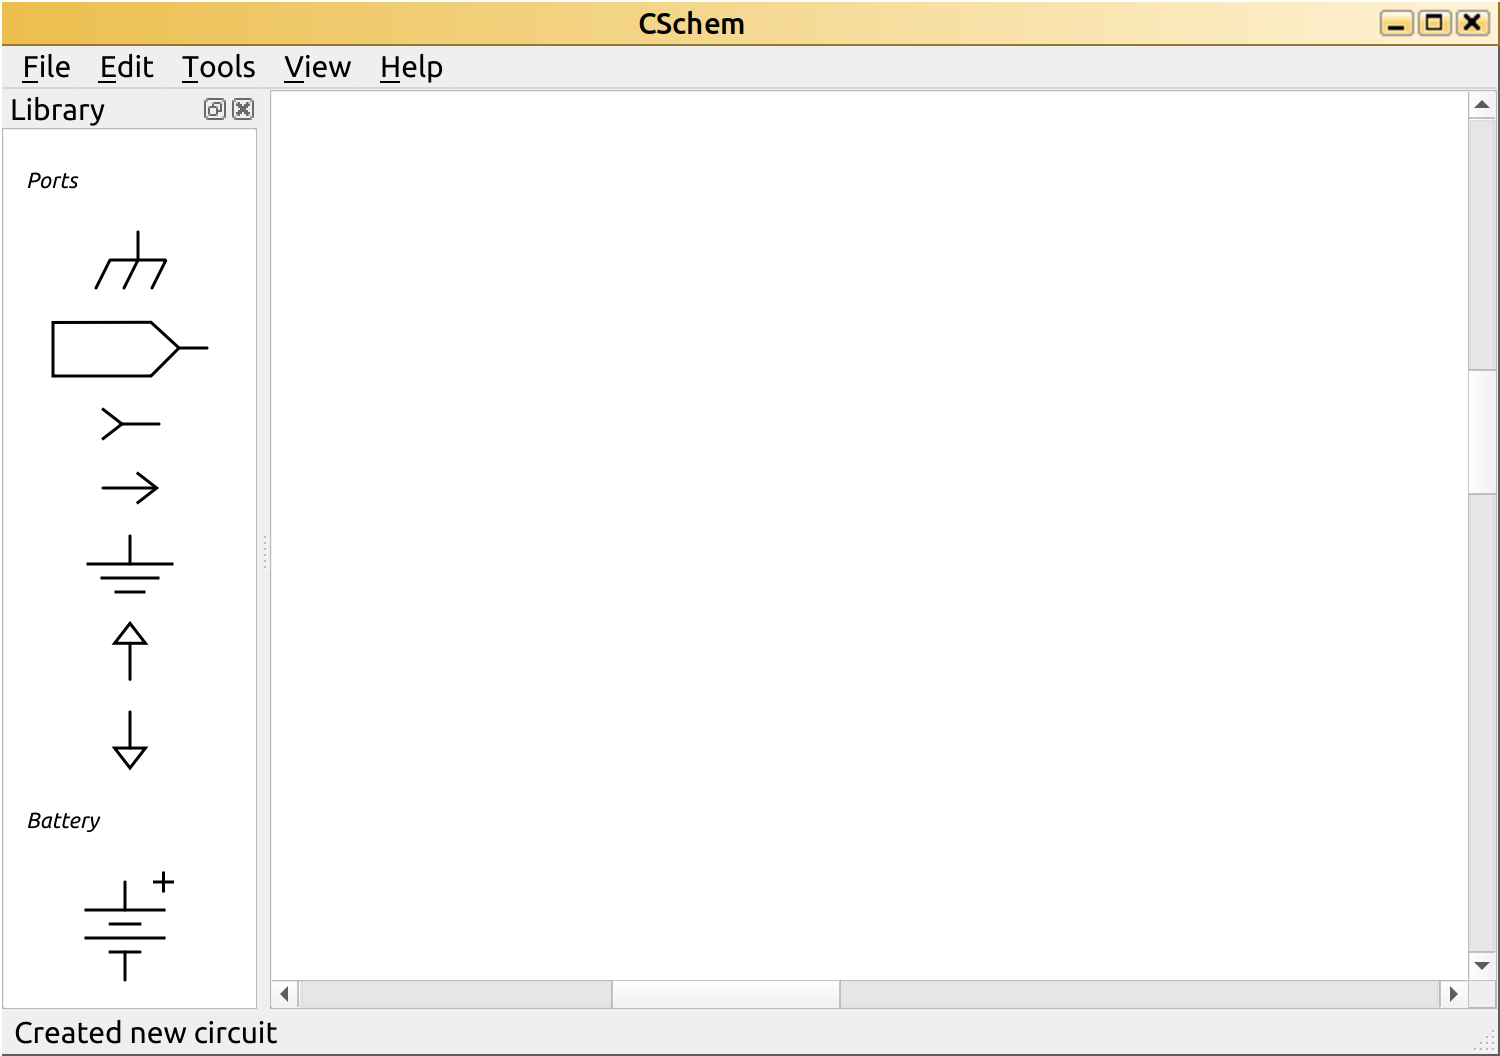
Either way, you will be presented with an empty schematic:
Placing components
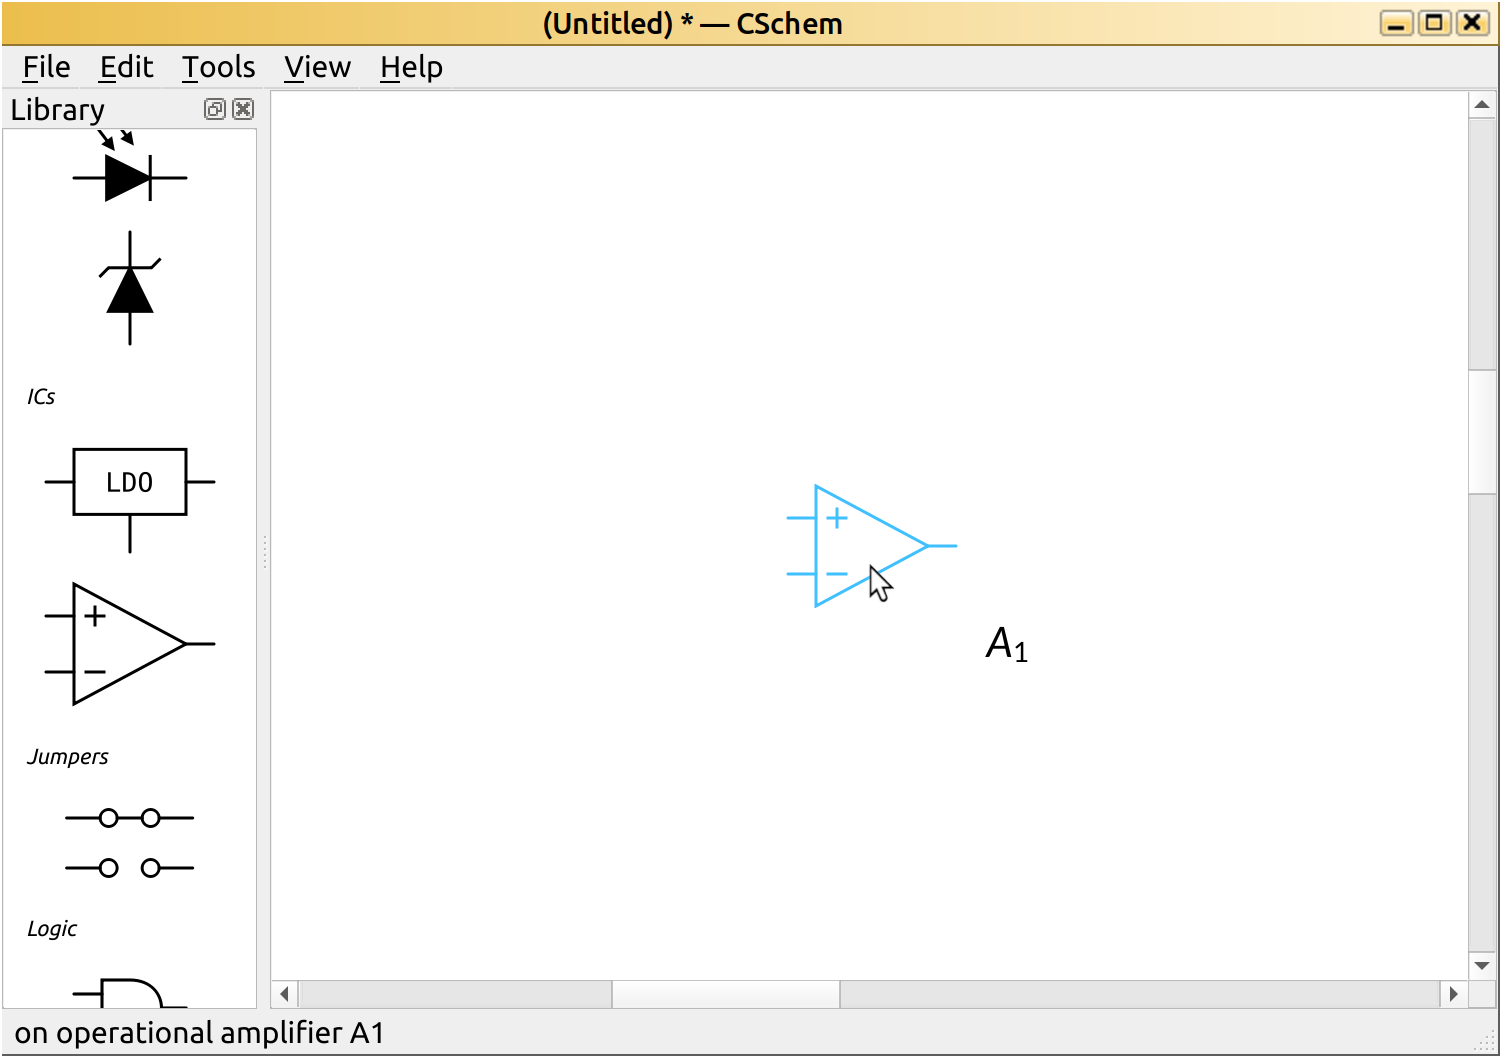
To find a component to places, use your mouse scroll wheel or trackpad’s scroll gesture to navigate the “Library” panel on the left of the CSchem window. Our first component will be the opamp at the core of our circuit. It will turn blue if you hover over it. Drag it into the main workspace. Your circuit should now look like this:
In the same fashion, you can drag resistors and coaxial connectors onto the canvas:
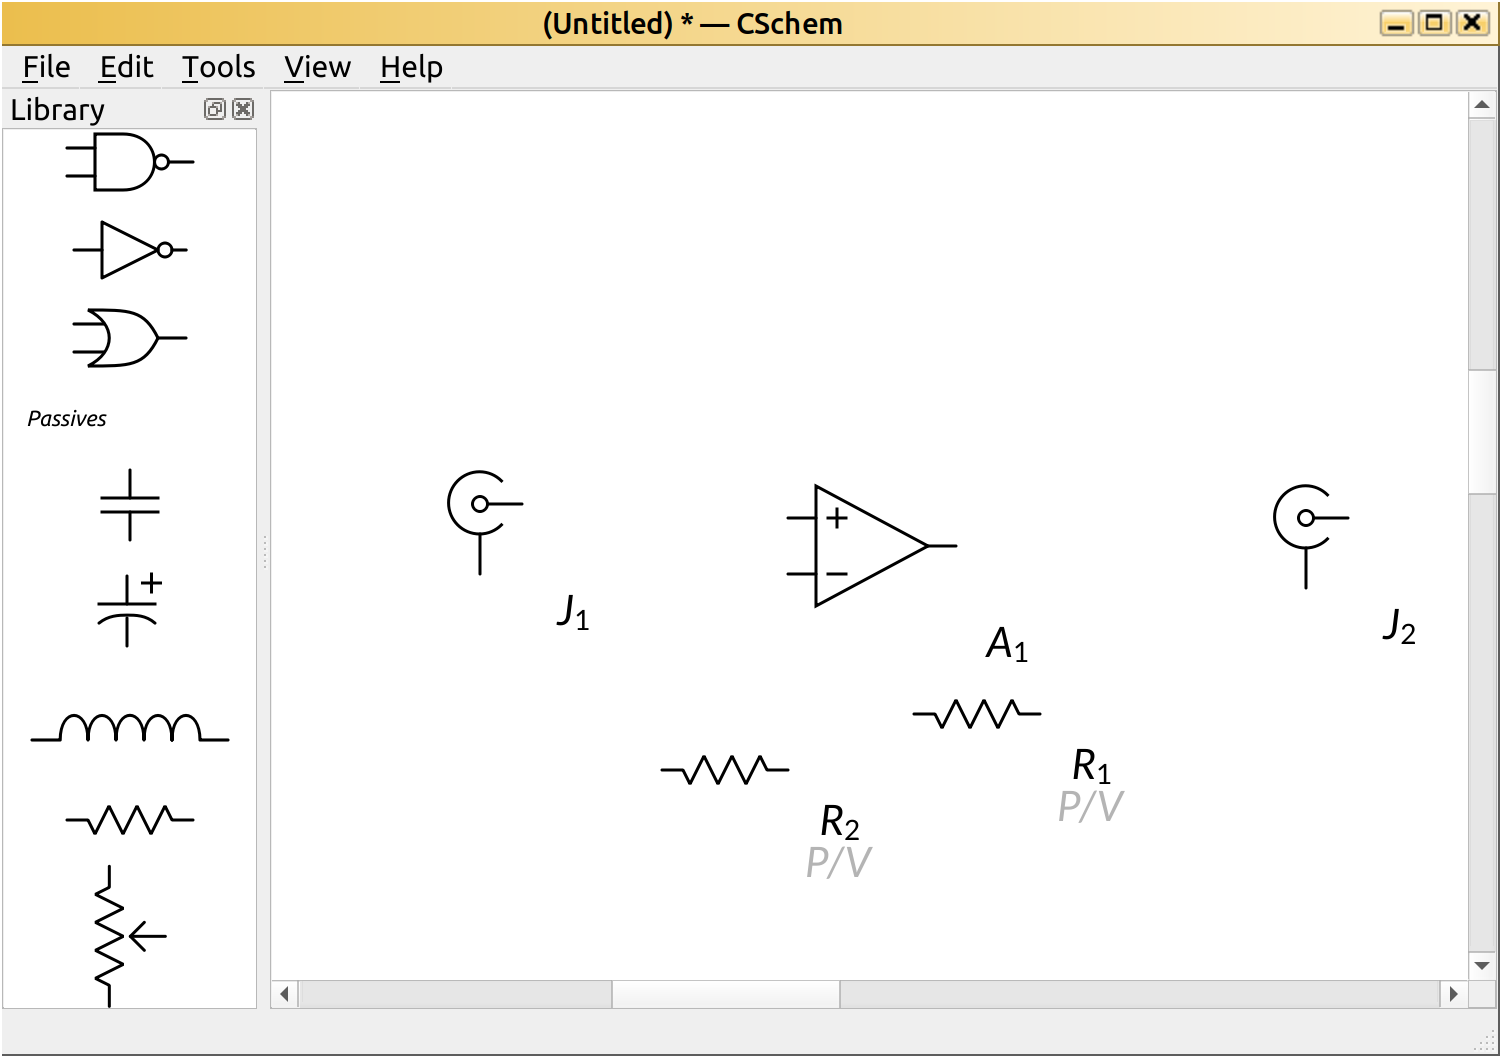
Side note: In this case, all the needed components existed in the side panel. However, CSchem comes with a much larger collection of component symbols, which can be explored by choosing “Open external symbol library” in the “Tools” menu.
CSchem is aware that resistors have values, so it has placed placeholders for those values by each of the resistors. We’ll worry about those in a minute. Also note that the positioning of the various labels is far from perfect. That’s also not of immediate concern.
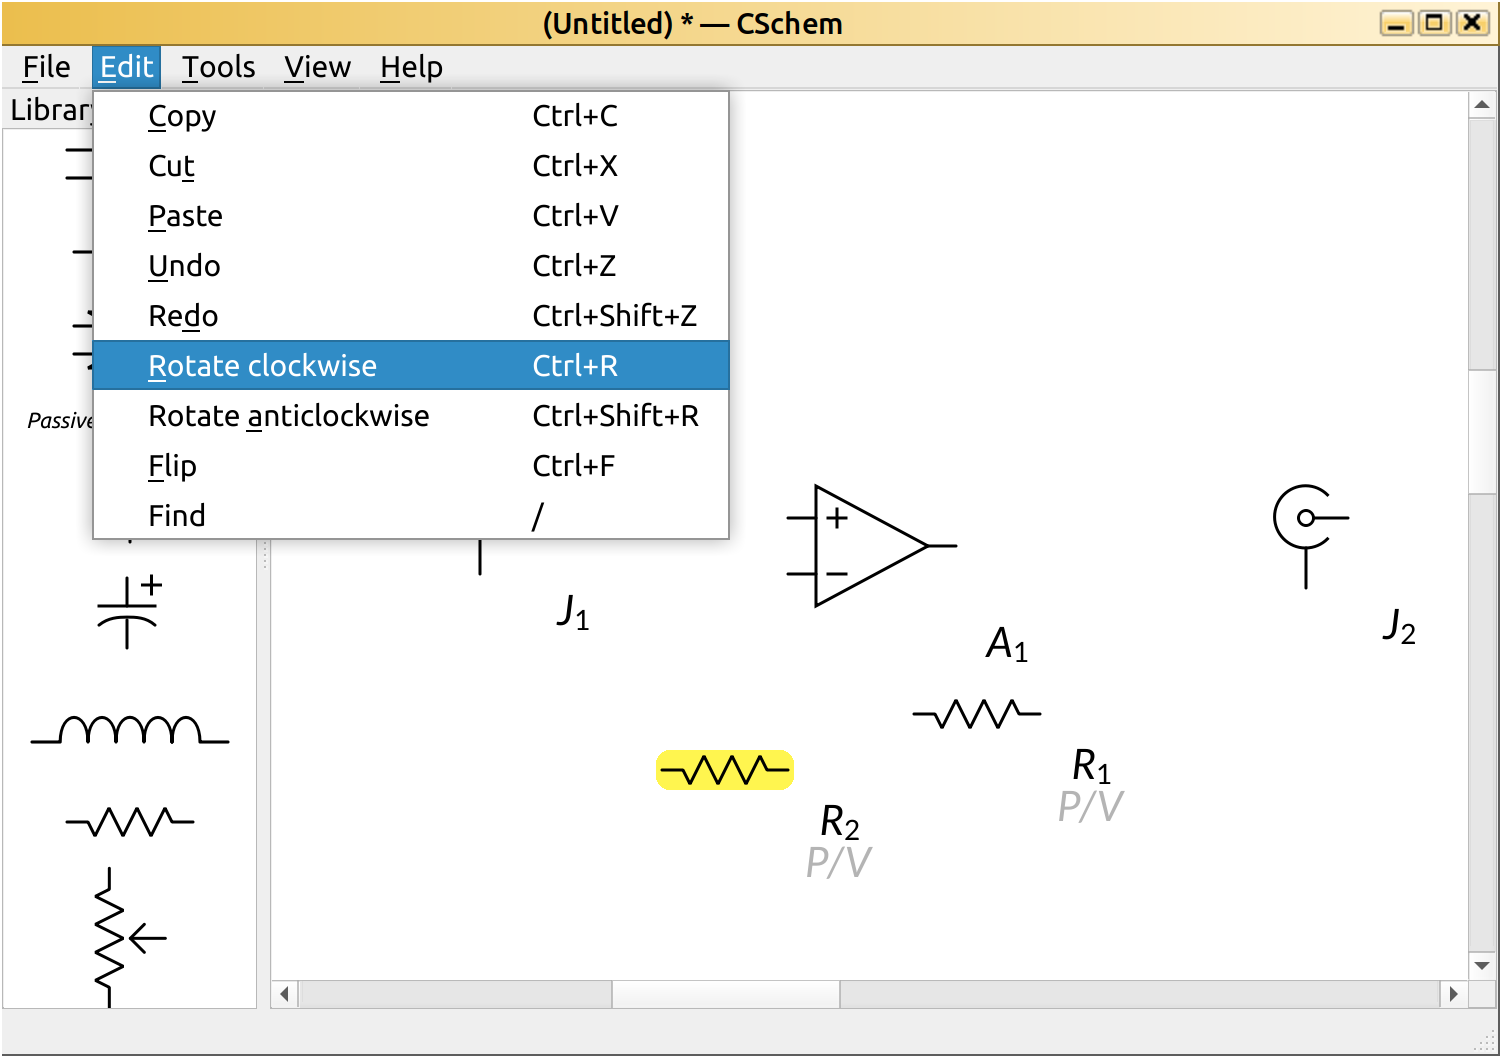
We’ll soon be connecting up these various parts, but first we must turn R2 vertical. This can be accomplished by clicking the component to select it, then choosing “Rotate clockwise” from the “Edit” menu:
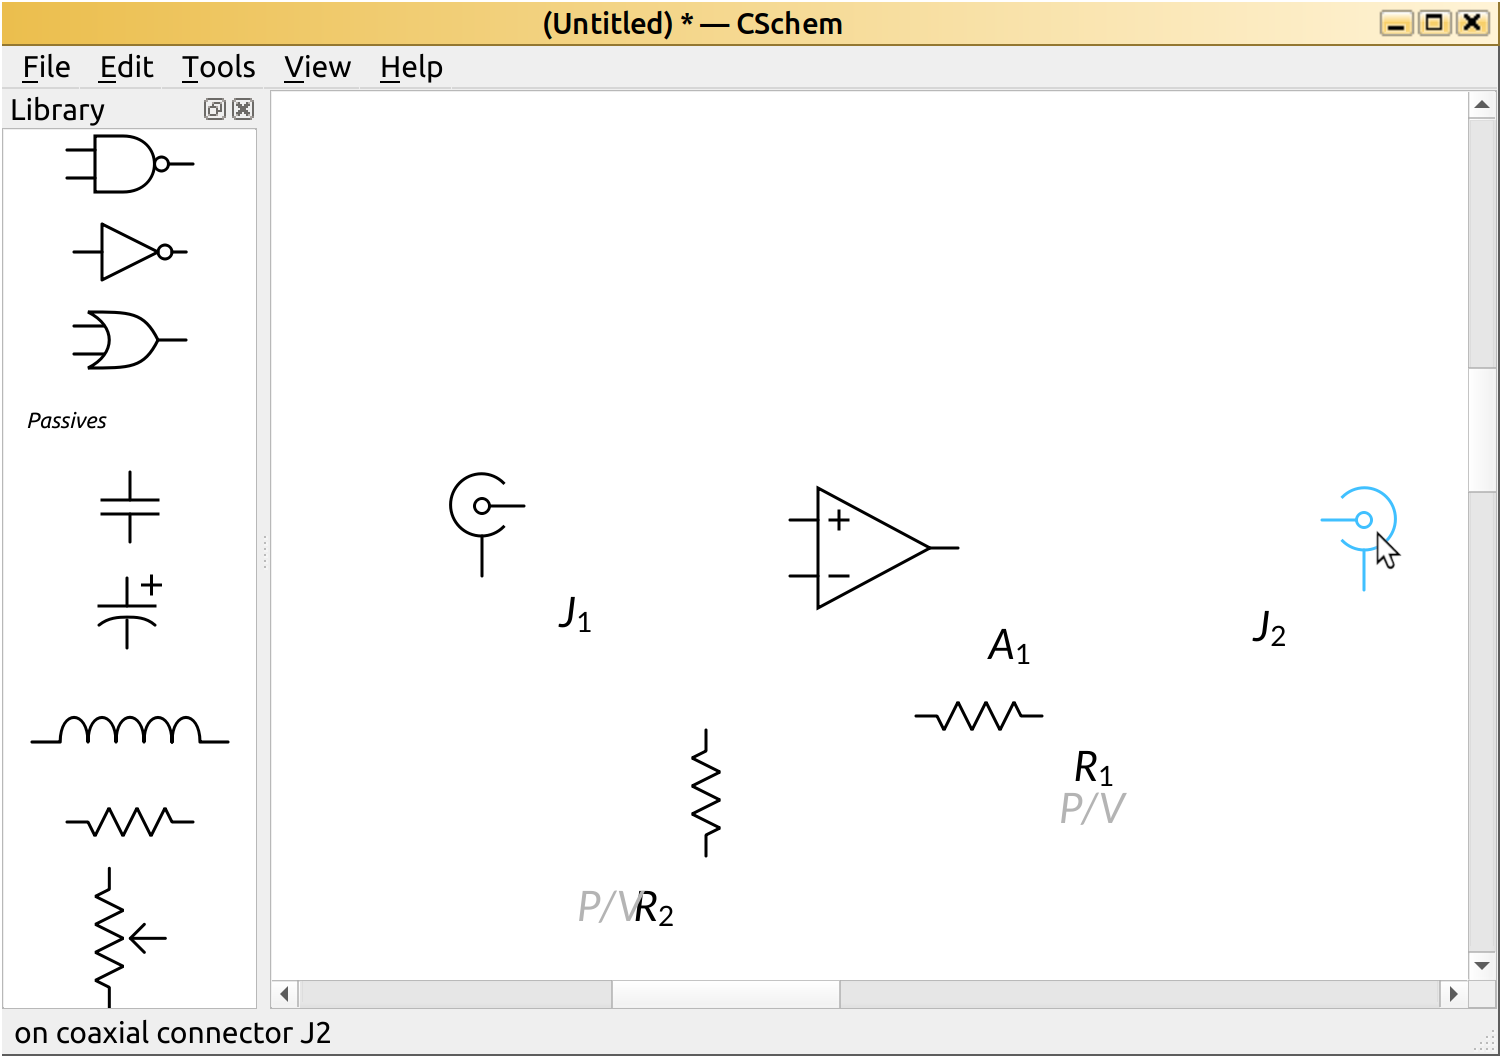
Alternatively, you can simply hover over the component (turning it blue), and press Ctrl+R. You will also notice that the center connection on J2 points the wrong way. Let’s try flipping J2 by hovering over it and pressing Ctrl+F:
This might be a good time to tighten up the position of the various labels a little. You can drag them around with the mouse. Try it.

Connecting components together
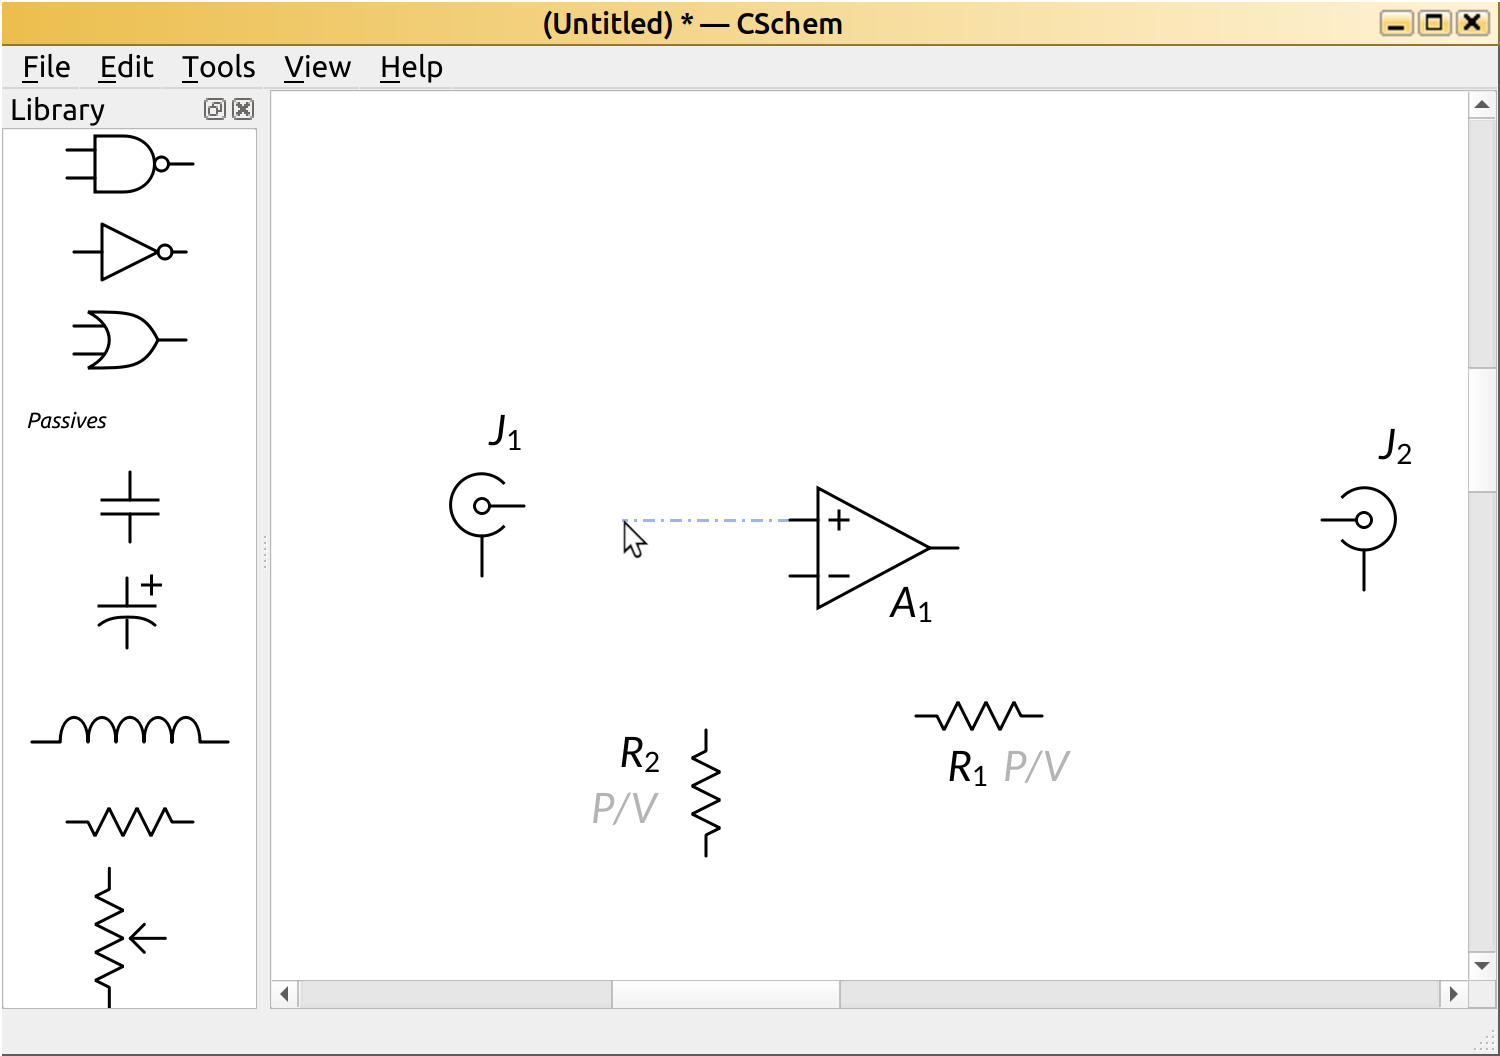
To connect components, hover your mouse over one of their pins, and click the mouse to start dragging out a wire connection:

Notice how the name of the pin shows up in the status bar.
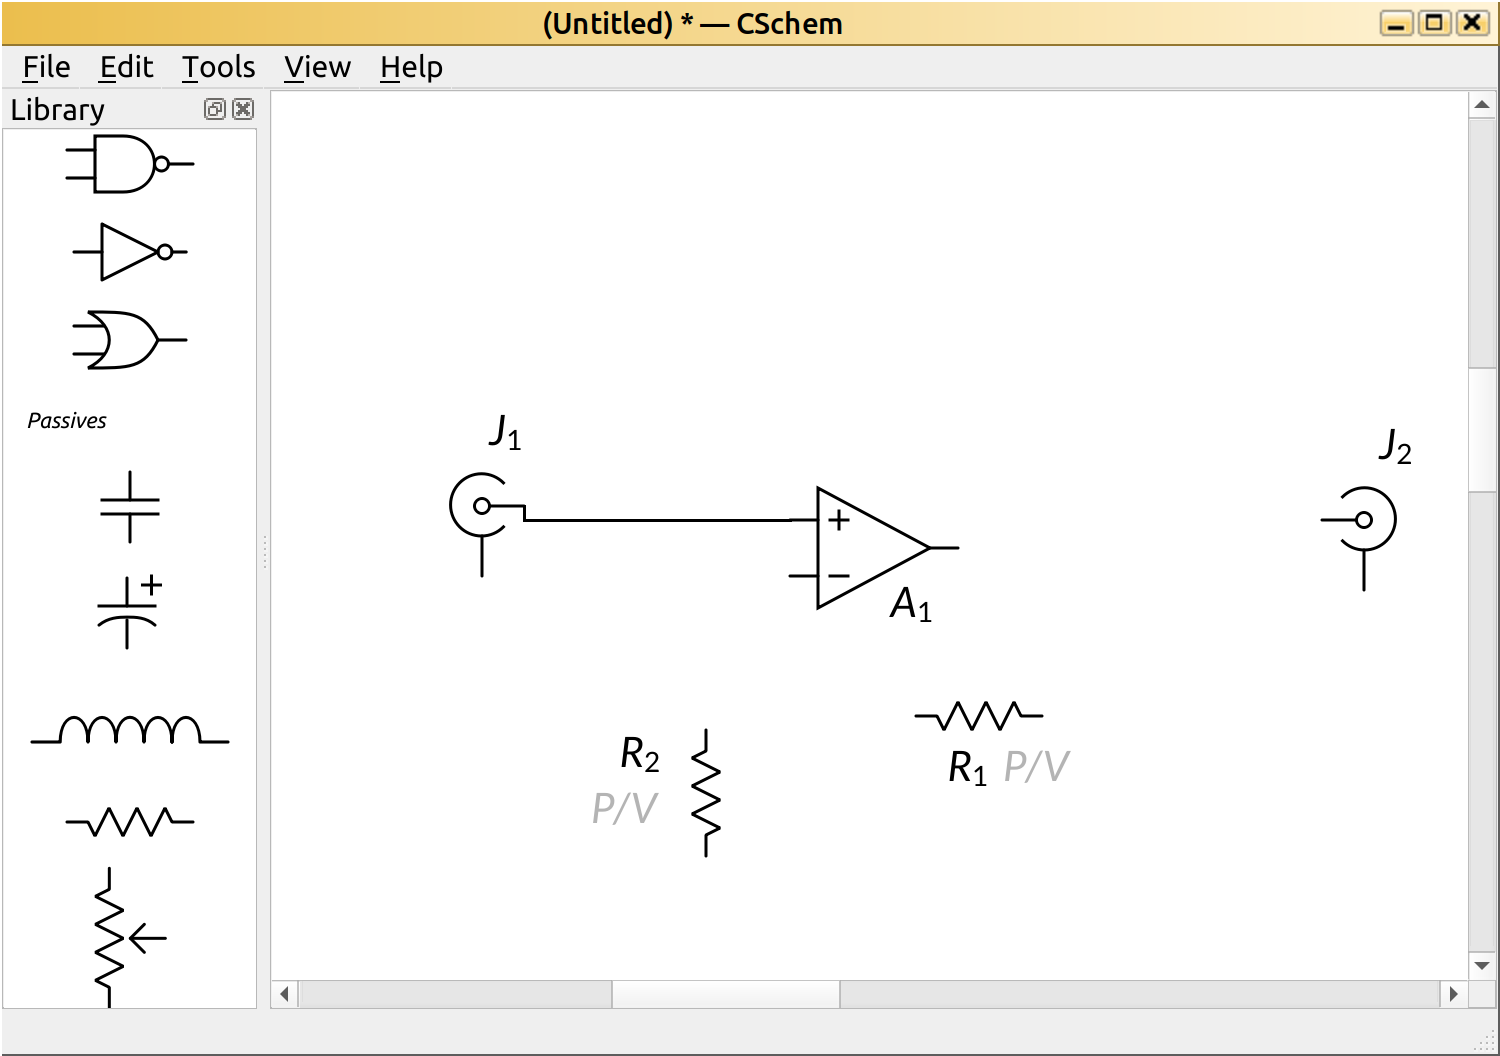
You can click on the canvas to create corner points in the wire, or click on another pin to confirm the connection. (The target pin will turn green while you hover over it, so you have visual confirmation of a successful connection.)

Don’t worry if you discover your components are not perfectly aligned:
It is easy to move them at any time.
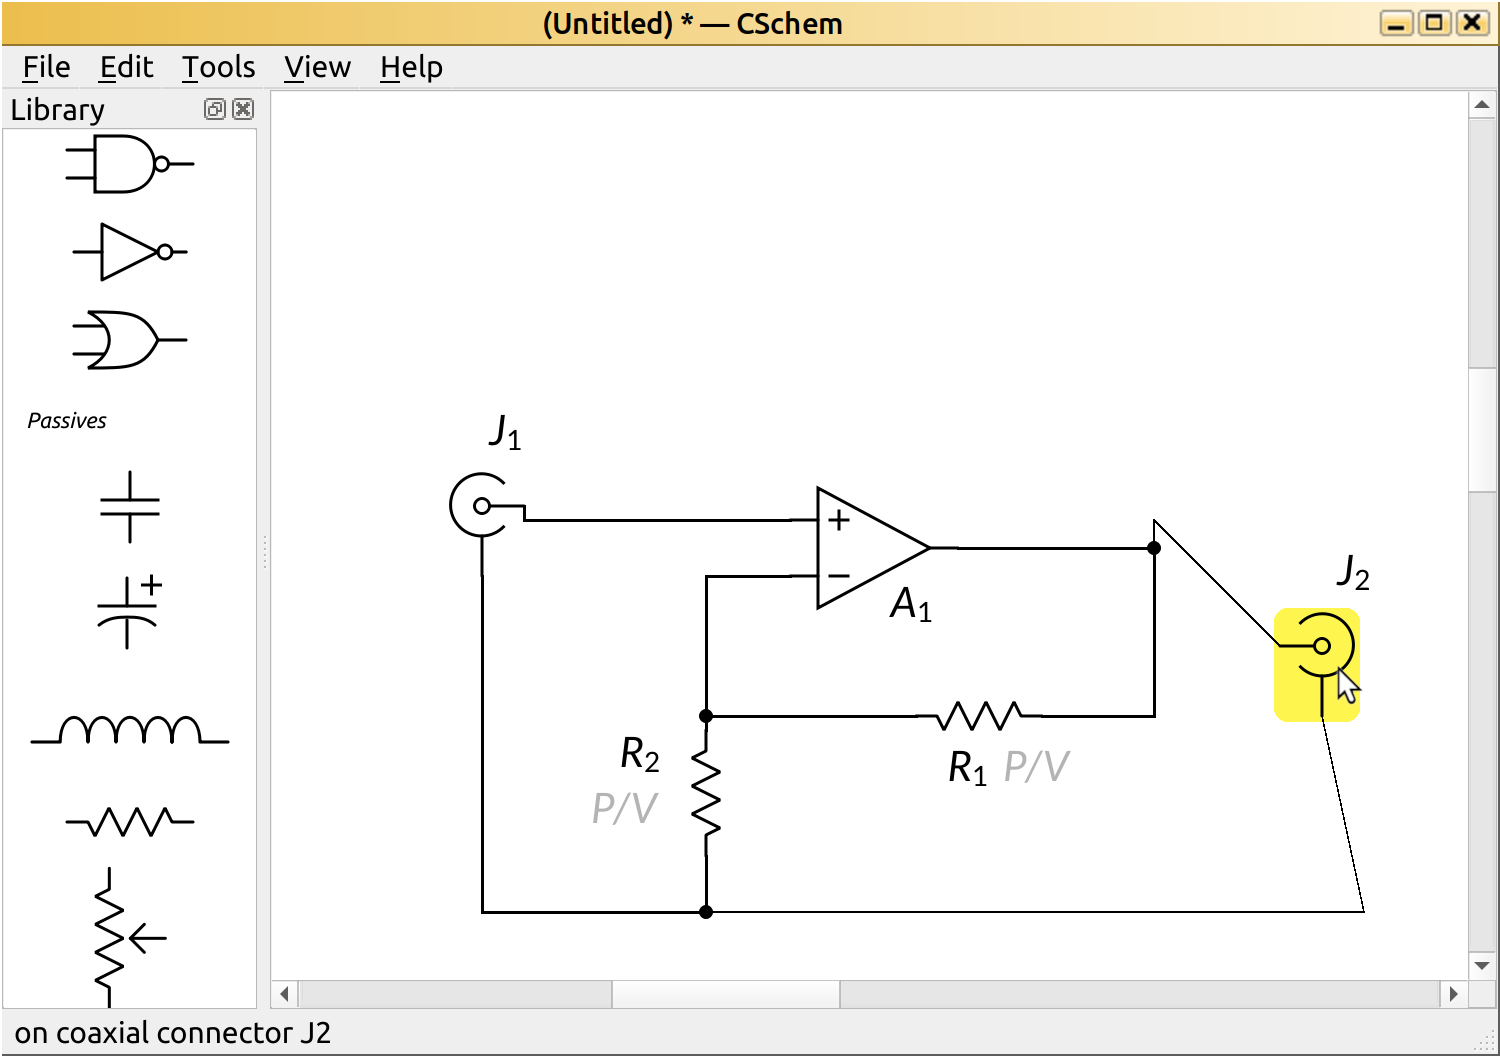
Next, you can add the other connections in the circuit in the same fashion. To make a connection onto an existing connection, either start from the other end, or hold Ctrl to force a green marker to appear on the middle of a wire.
Note how black dots automatically appear to mark junctions.
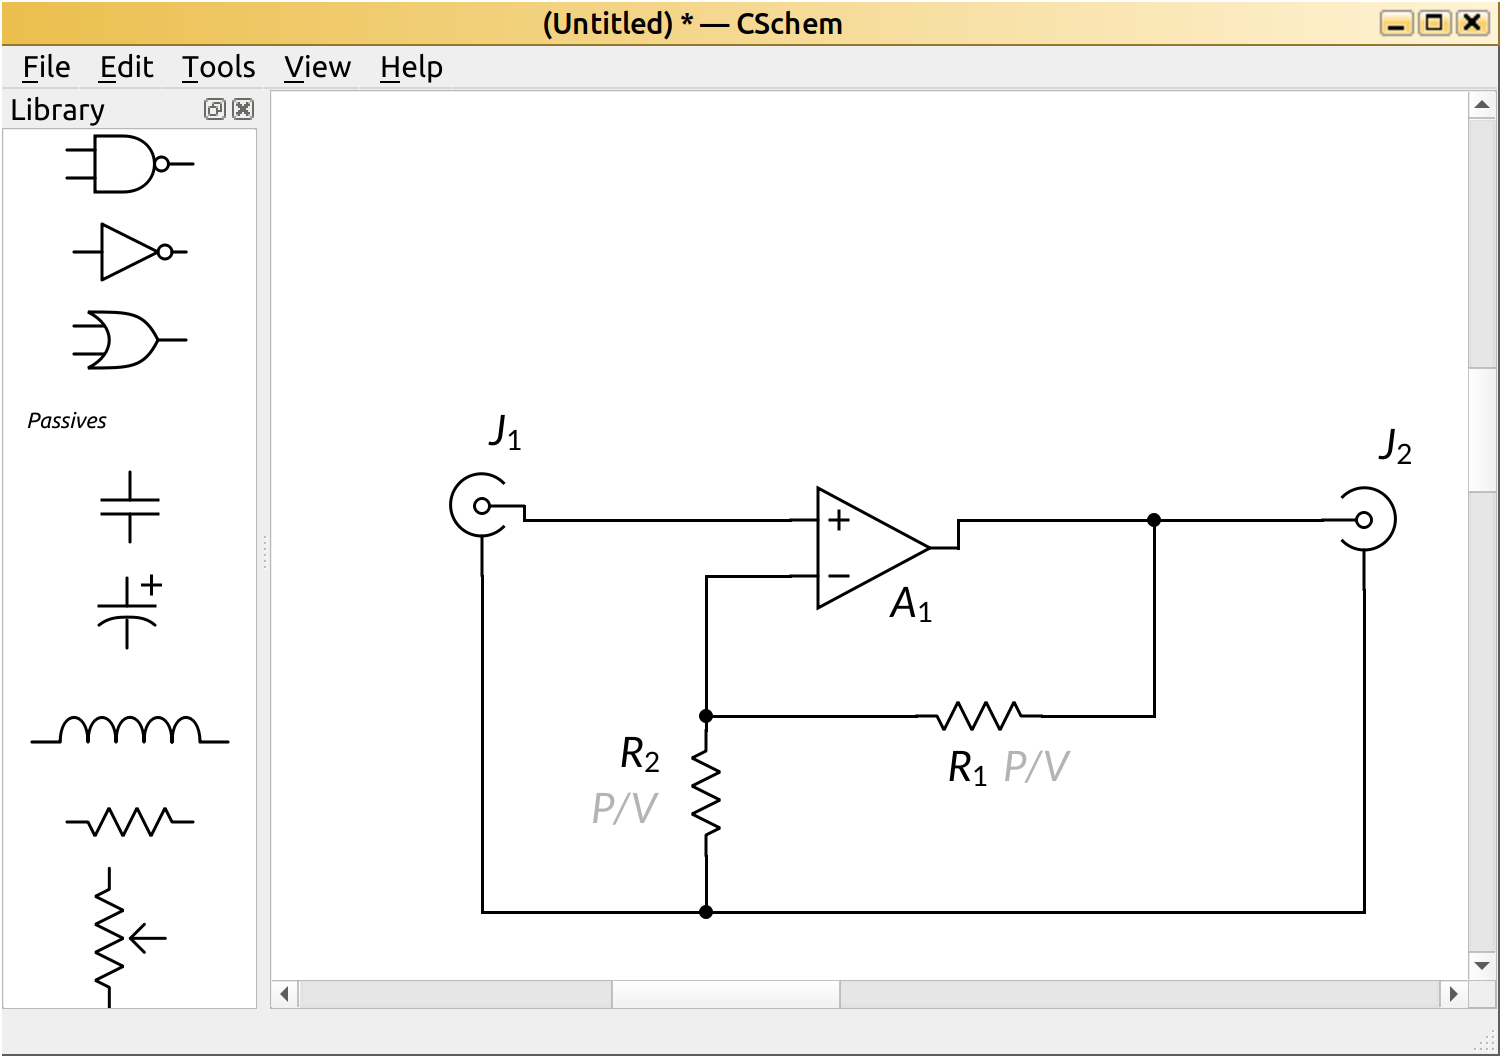
In CSchem (as in most circuit drawing standards), the convention is that wires that cross each other orthogonally are not connected unless a junction marker is drawn.
This might be a good moment to clean the circuit up a little by aligning J1 and J2 with A1. You can drag any component around the canvas, and its connections will be adjusted automatically. You can also drag any connection around. Note how connections may appear spidery while dragging components, but they will snap back to orthogonality after you release the mouse button.
CSchem does not move junctions unless it has to, so sometimes you get unnecessary elbows after moving a component:
If you double click on an unwanted elbow, CSchem will try to eliminate it. If it guesses wrong, just press Ctrl+Z, and click an adjacent segment to try again.
Specifying part values
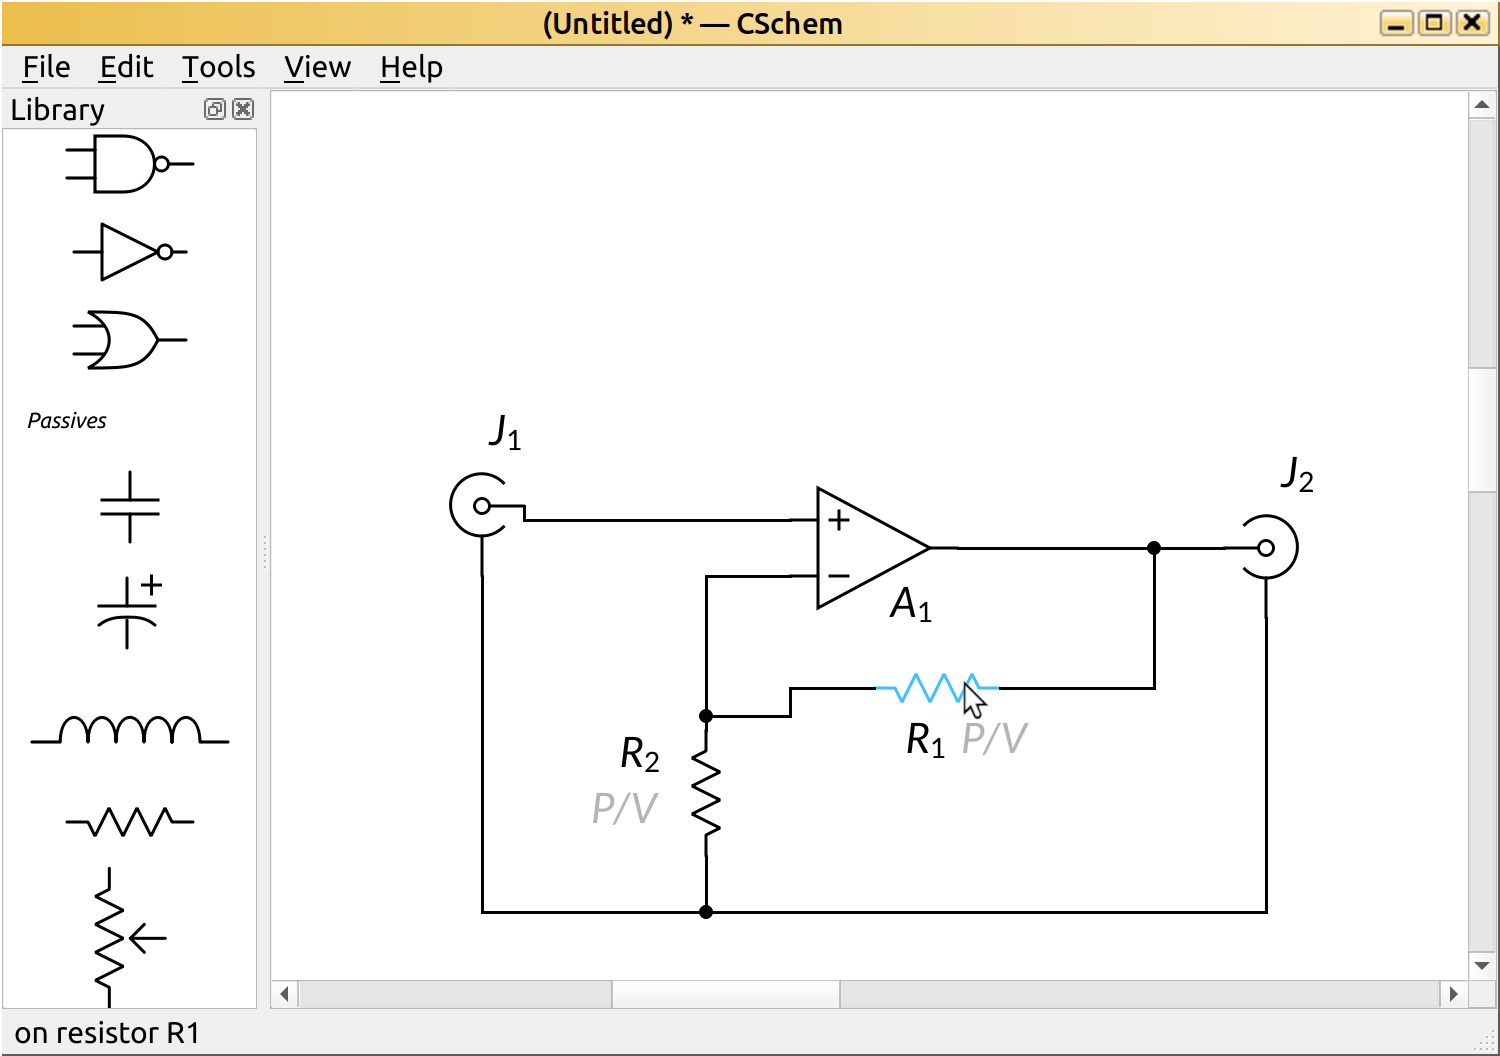
Click on a “P/V” placeholder to type the value of the resistor. (If no placeholder appears by a component, double click on the component to make it appear.)
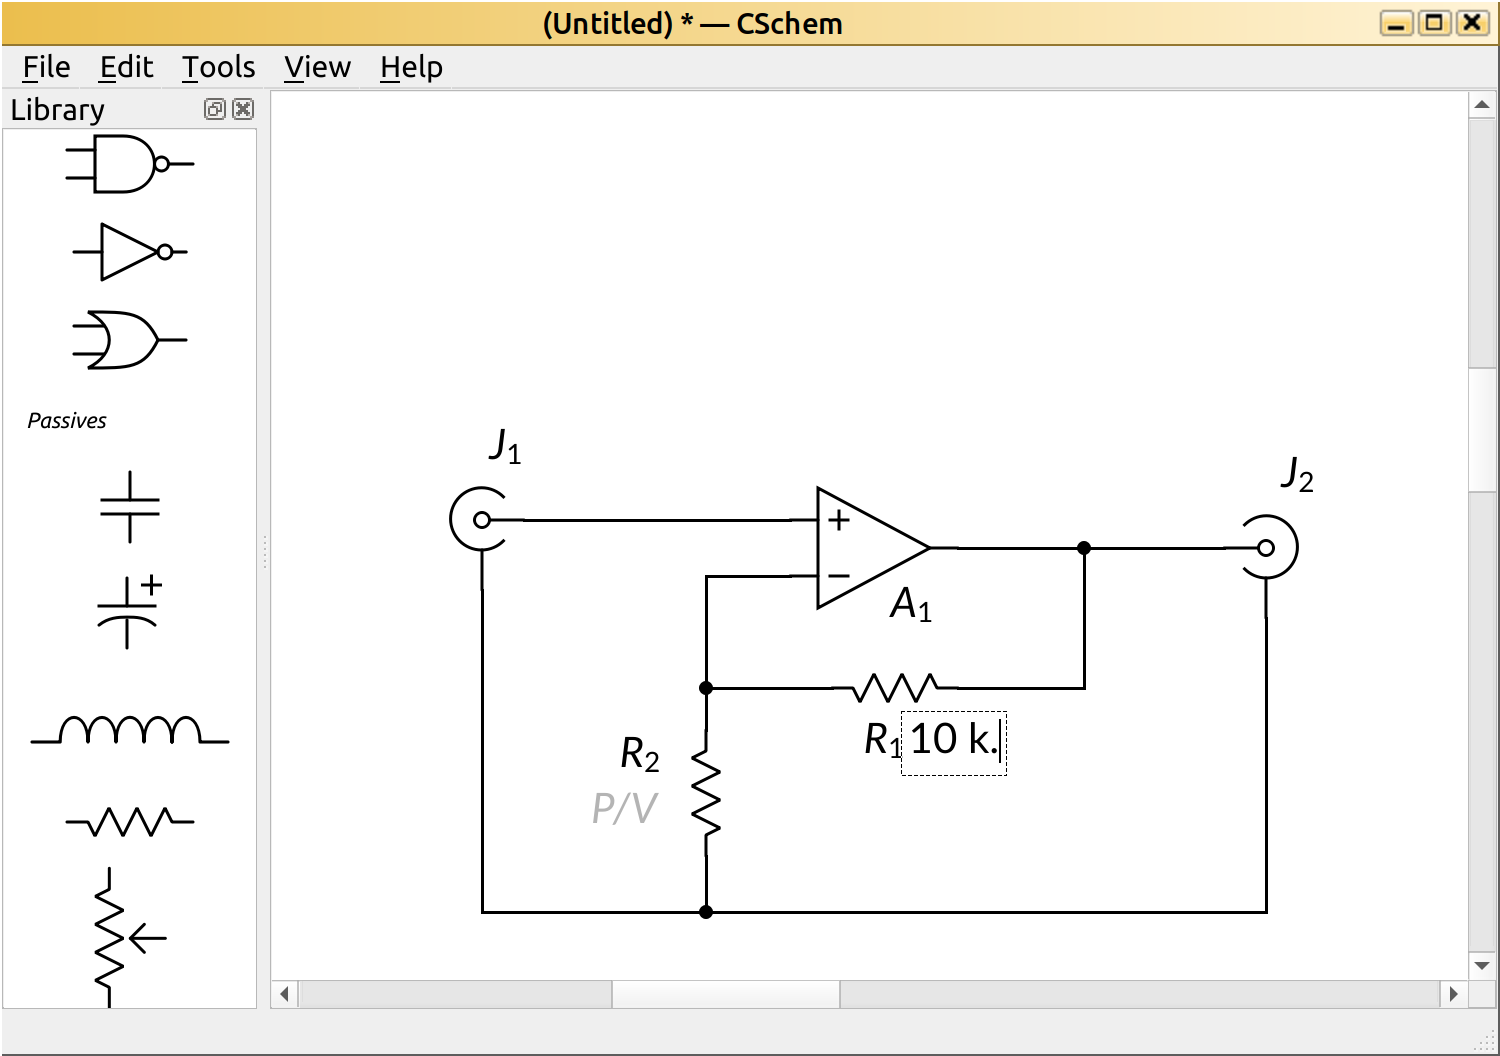
CSChem understands that resistor values are measured in Ohms, so if you end your value with a period, that will automatically be replaced by a capital Omega (“Ω”) when you press enter.

Should you decide you prefer not to show a component’s value in the circuit, you can hover over it and press Backspace. If you change your mind, just double-click the component, and the value will reappear.
Conclusion
Congratulations! You have drawn your first circuit with CSchem. This might be a good time to save your work. You can also export your schematic in SVG format.