Tutorial: Containers and virtual components
If you have ever worked with actual opamps, you may have noticed that the circuit we drew in the previous tutorial is a little naive:

Real opamps need power to operate, and we drew just the ideal opamp symbol. This was on purpose, because the circuit is easier to understand (and explain) without the details of the power supply. If you read text books on electronics design, you will often see such idealized circuits.
But what if you want to realize your circuit in the real world? In CSchem, you don’t have to clutter up your drawing. You can place a “container” for your opamp in a separate part of the drawing, and connect the power lines there:
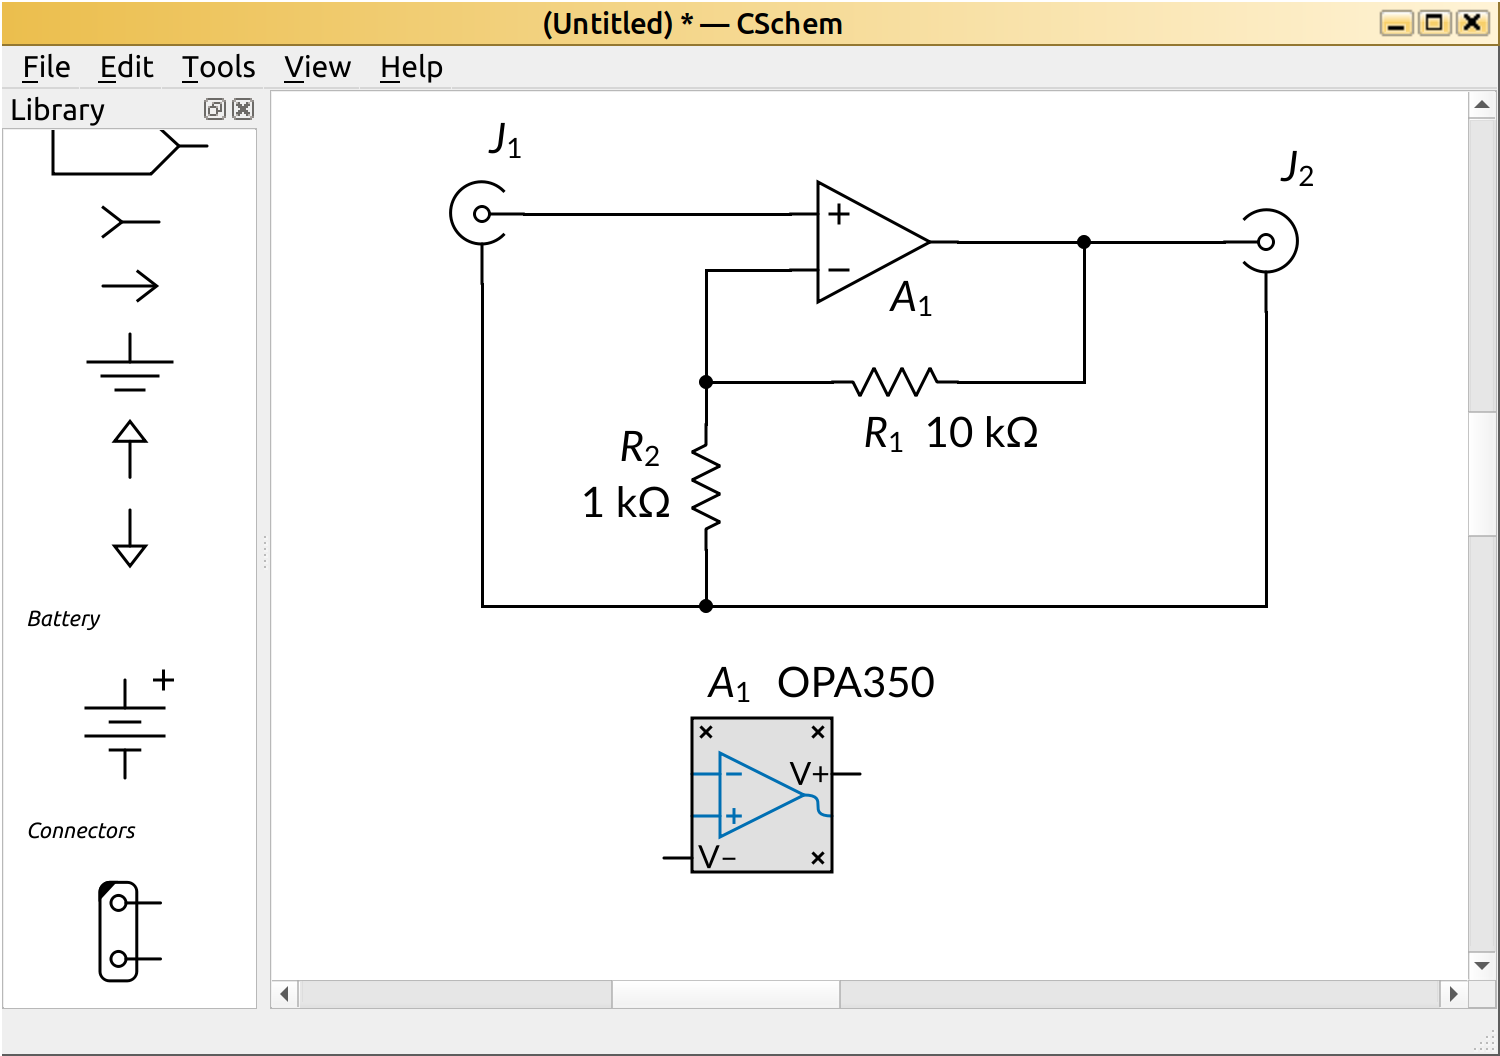
Note how the container has the same reference name (“A1”) as the “virtual” component in the main circuit. Note also that I have placed the part number by the container rather than by the opamp symbol, to keep the main drawing as simple as possible.
Now we have to actually draw some power lines. For instance:
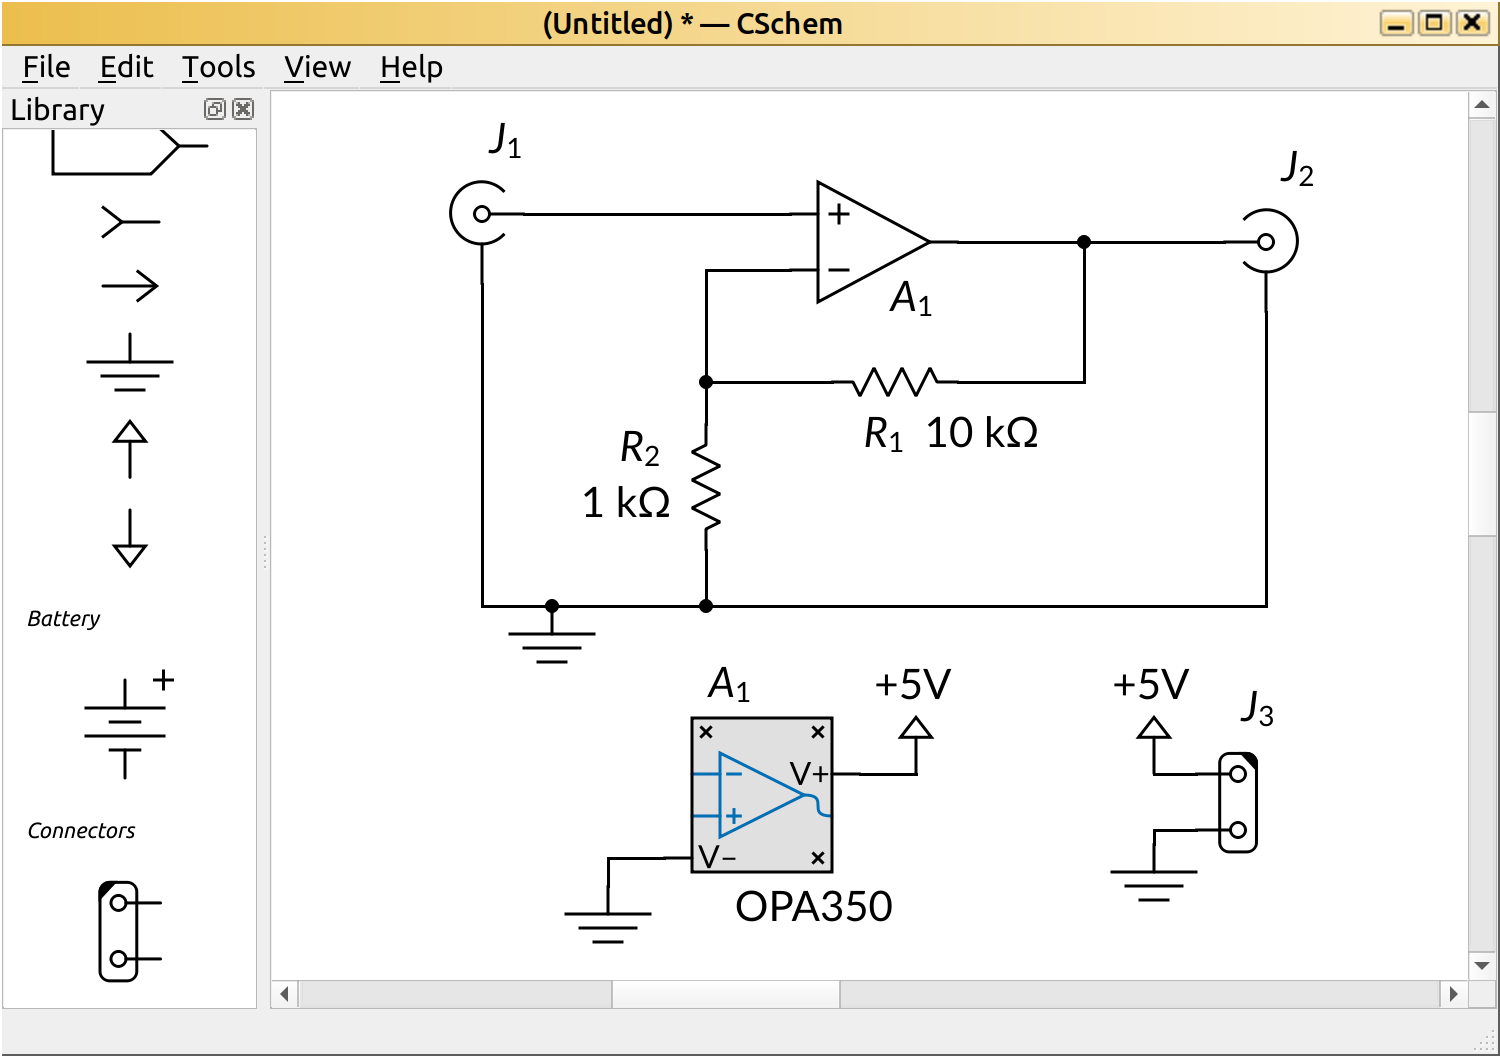
Note that I had to double-click the “+5V” symbols to enable typing the text “+5V”. By default, the symbol is just an abstract positive power supply connection, but we are starting to make this circuit real, so an explicit voltage value seemed appropriate.
Note further that I have added the ground connection to the main circuit that we had left out at the end of the first tutorial. It is never too late to recover from a mistake.
Going further
Containers in CSchem may contain more than one virtual component, so as to accommodate dual or quad opamps, or 74xx series logic chips that may contain as many as six gates. The CSchem “User manual” has a whole section on the topic. And if you don’t like the concept of containers, nothing keeps you from drawing your own actual opamp symbol with all the additional pins and using that symbol in your design. The user manual also has a section on custom symbols.